INSTALLATION PROCESS
The following article describes the step-by-step process for the installation of the SKUDONET Open Source Load Balancer, please follow this procedure if you are installing SKUDONET Community Edition or SKUDONET Enterprise Edition Bare Metal appliance.
Previously to this article a virtual machine or physical server is required (x86_64), no run the new server (physical or virtual) booting from your ISO/CDROM/USB SKUDONET installer. If the boot is done properly the installation splash should be shown, please take into account that the SKUDONET installation supports UEFI.
SKUDONET can be installed under an ISO file (bare metal) and has been created using GNU/Debian Bookworm Linux, the Kernel has been modified in order to make this work like a networking device.
Download the Community Edition from the following platforms: Sourceforge or Github.
Download the Enterprise Edition ISO Installer (Bare-metal) from Here
Once the installer starts please continue the next steps.
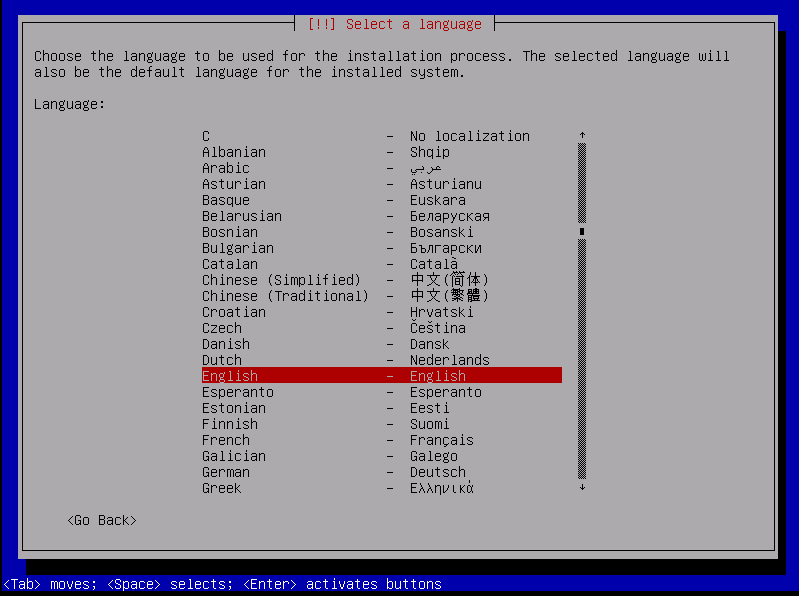
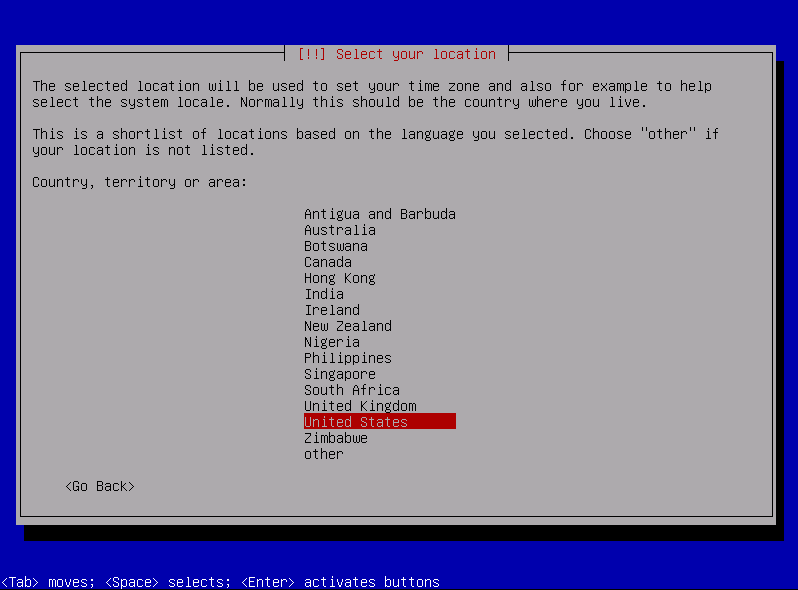
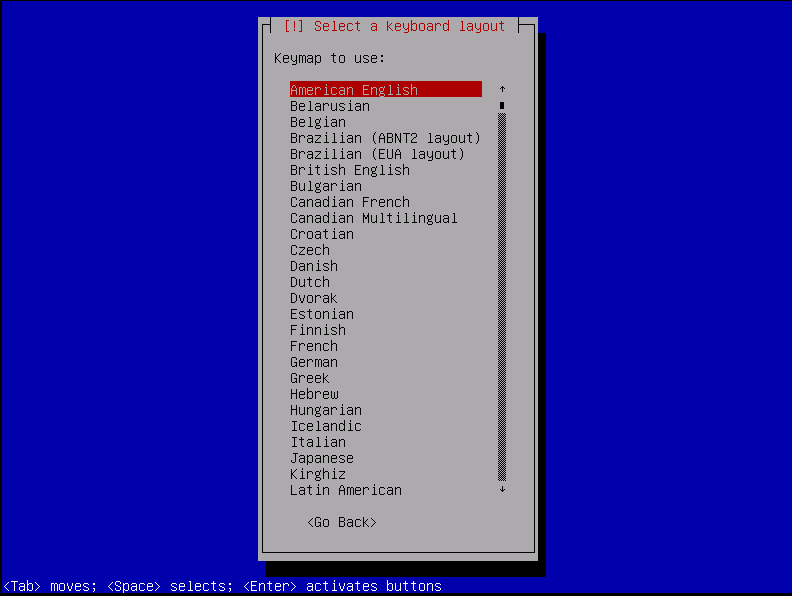
Select your language, location, and keyboard map.
Later, the installer is going to detect the hardware components and load additional software components. Just wait a few seconds.
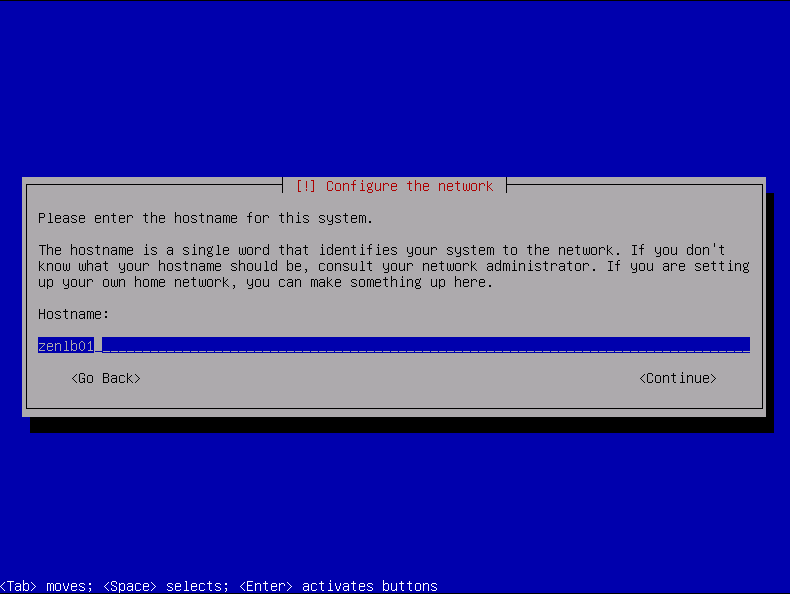
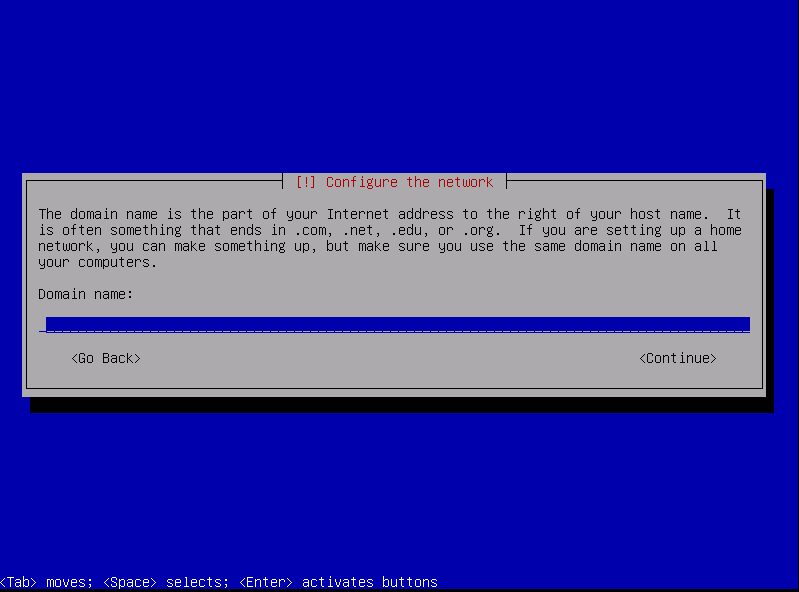
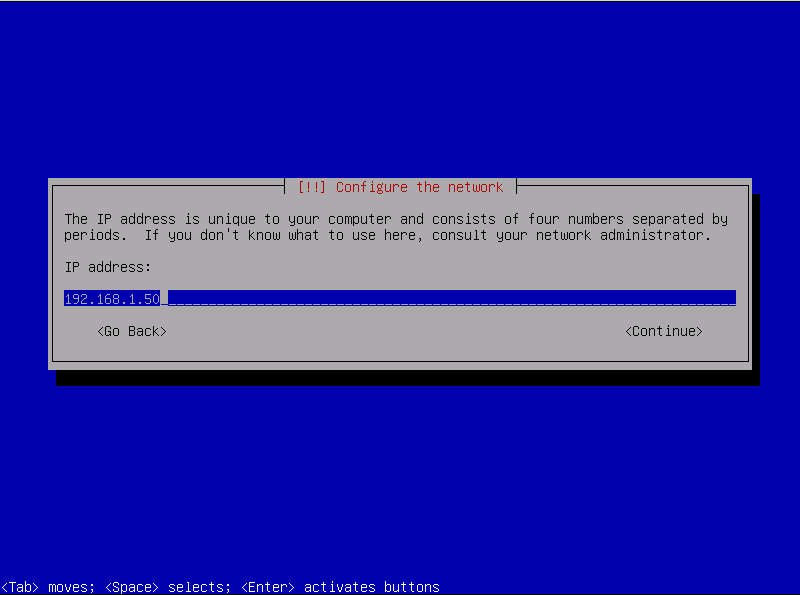
Then the installation process will detect the network interfaces, you have to configure a static IP address, DHCP is totally supported but since the system is installed, this particular IP is going to be used in the startup to access the SKUDONET web administration panel (HTTPS port 444 and SSH port 22). Additional configuration info like netmask, gateway, and DNS server will be requested along the installation process.
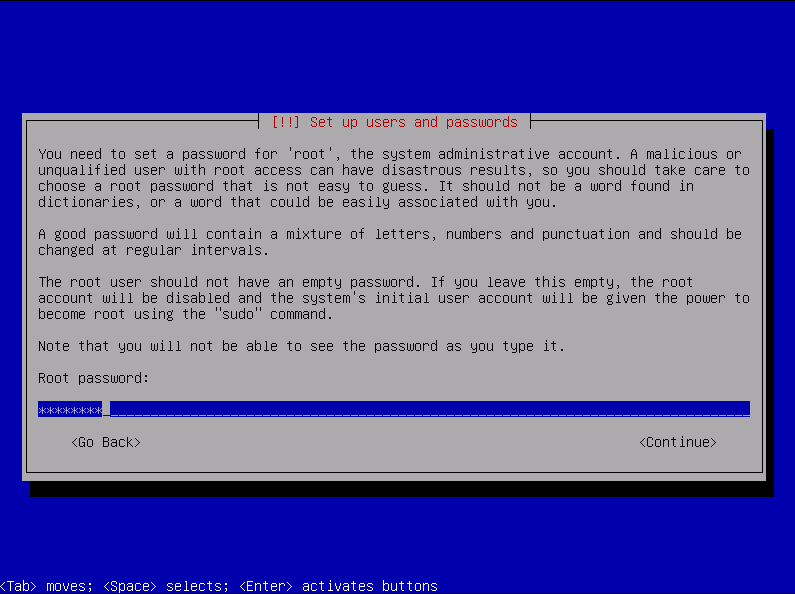
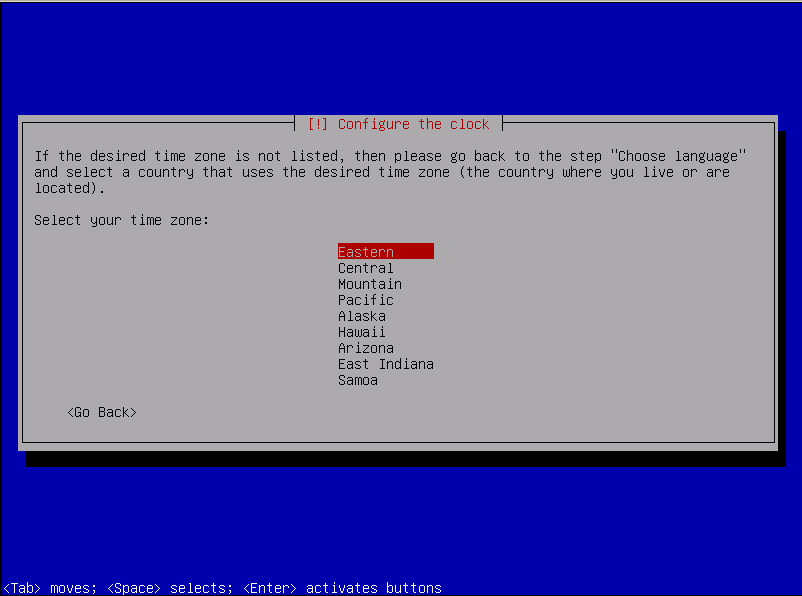
Insert the root system password and repeat it in order to validate it. This password will be used when you access the through a console or SSH to the SKUDONET system. Additionally set your timezone, once SKUDONET is installed the local time will be synchronized every hour with ntp.pool.org servers. Please don’t use simple passwords as they can be compromised if the system is exposed to the internet under a simple brute force attack.
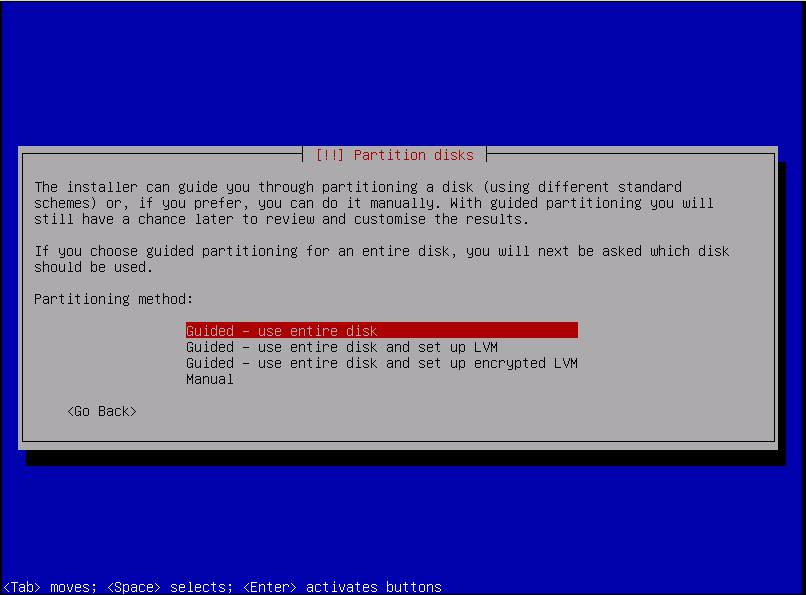
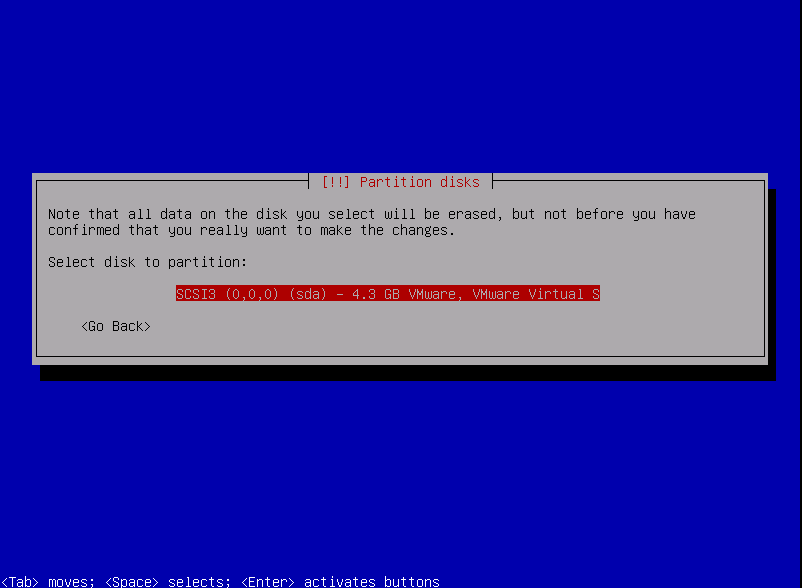
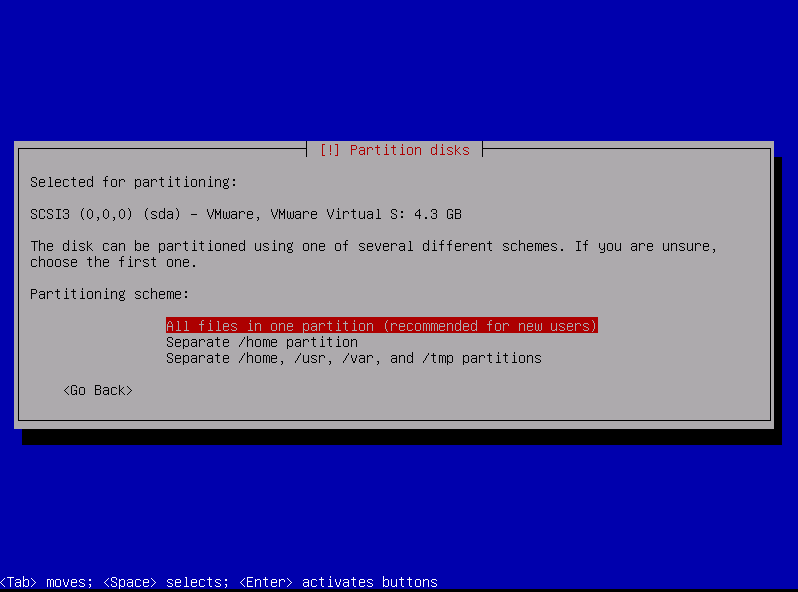
Configure your disk partition, if you are a Linux beginner you can select “Guide – use entire disk” and the system will be installed automatically with a default disk configuration (it isn’t the most recommended but useful for testing purposes). Experimented users could select their custom installation. It would be interesting to know that a special disk space is not needed to work with SKUDONET Load Balancer, although the minimal recommended is 12 GB of free space for the whole operating system and logs. It is totally recommended to use LVM, in that way, you will extend the Disk in the future if needed.
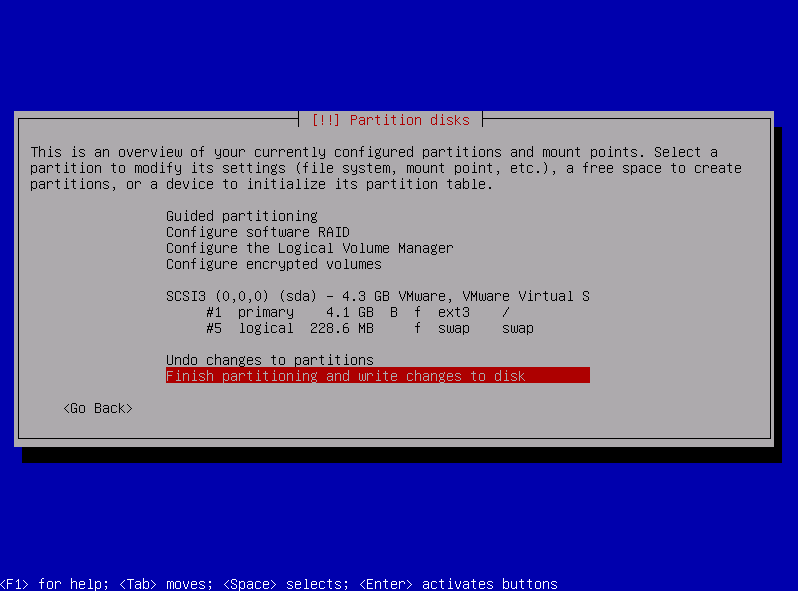
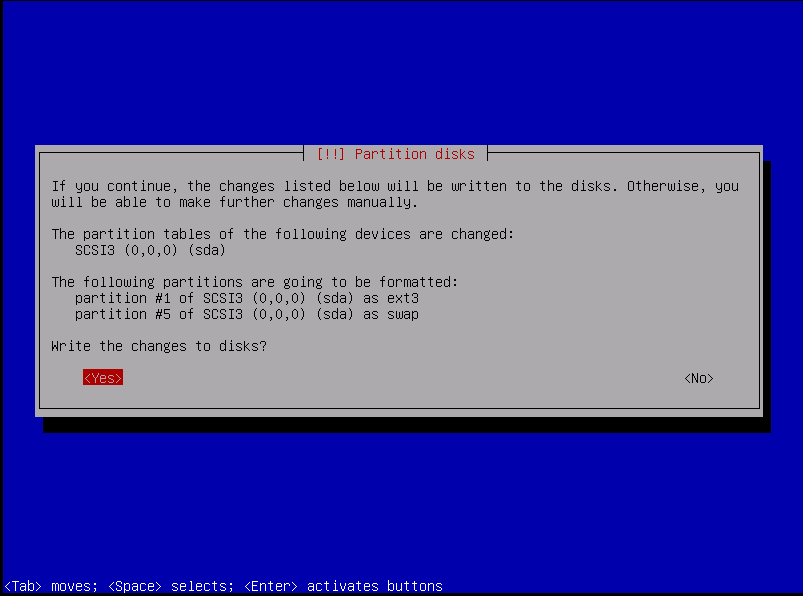
The partition table can be modified through the following menu. Then select Finish and continue with the installation.
Select Yes to confirm the changes, the installation process will start so please be patient.
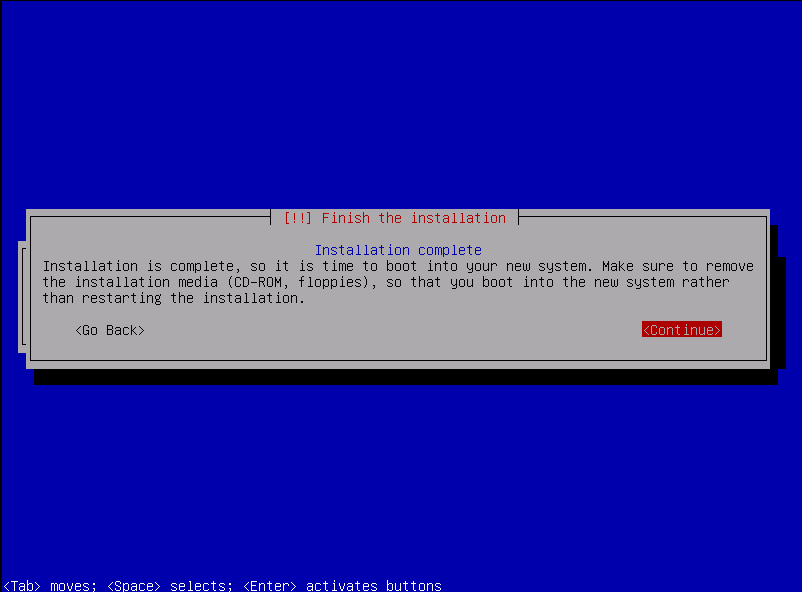
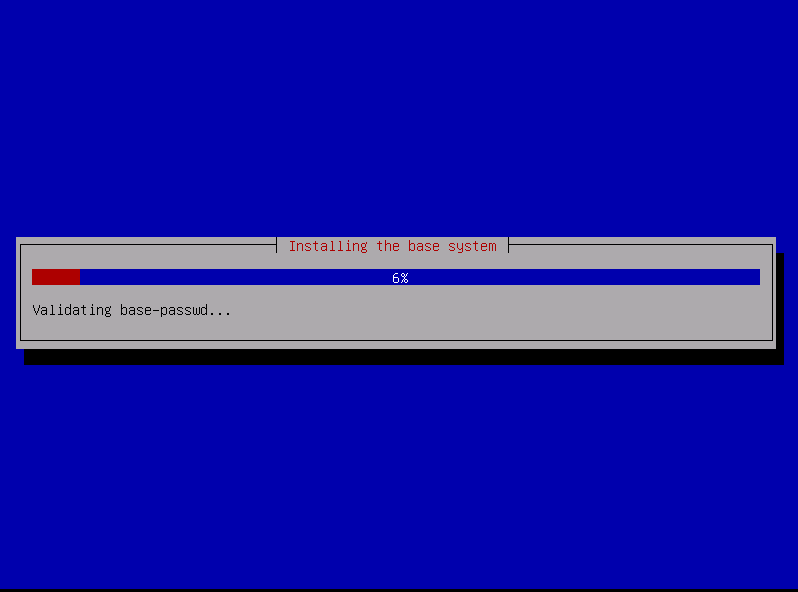
At this point, the fresh installation will start and once the installation concludes, it will be necessary to restart the system, the start process will show the already configured managed IP.
